If you’re looking for an easy, no-bake dessert that is perfect for warm weather, parties, or a quick sweet fix, this Frozen Tray Dessert is exactly what you need! This creamy, fruity, and slightly crunchy dessert is made in a single tray and stored in the freezer, making it an effortless yet indulgent treat.
With just a few simple ingredients, you can create a layered masterpiece that will have everyone coming back for seconds. Whether you prefer a fruity tropical twist, a rich chocolatey delight, or a nutty crunch, this recipe is highly customizable to fit your cravings.
Why You’ll Love This Frozen Tray Dessert
✔ No baking required – Perfect for hot days when you don’t want to turn on the oven.
✔ Make-ahead friendly – Can be stored in the freezer for up to two weeks.
✔ Customizable flavors – Easily switch up ingredients to create your own unique version.
✔ Great for sharing – A large tray serves multiple portions, making it great for parties and gatherings.
Ingredients
Base Layer (Crust Options)
- 2 cups graham cracker crumbs (or crushed Oreos, vanilla wafers, or digestive biscuits)
- ½ cup melted butter
- ¼ cup sugar (if using plain crackers)
Creamy Layer
- 8 oz cream cheese, softened
- 1 cup powdered sugar
- 1 teaspoon vanilla extract
- 1 cup heavy whipping cream (or whipped topping)
Flavor Layers (Choose One or Mix for Variety)
- 1 cup crushed pineapple, drained
- 1 cup sliced strawberries
- 1 cup chopped mango or peaches
- ½ cup mini chocolate chips
- ½ cup chopped nuts (walnuts, pecans, or almonds)
Topping
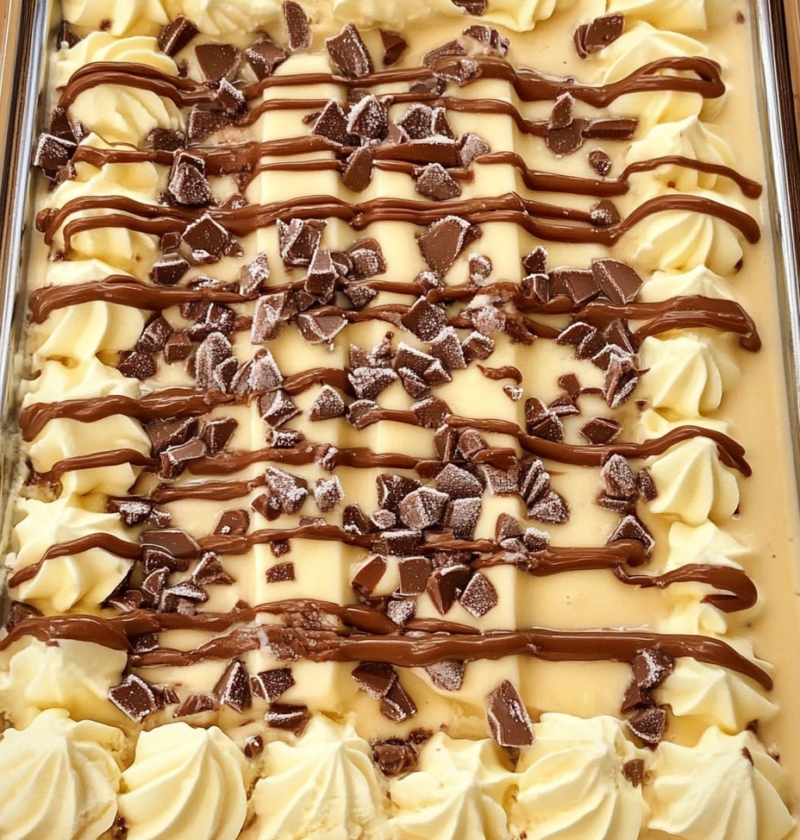
- 1 cup whipped topping or whipped cream
- ¼ cup chocolate or caramel drizzle
- Crushed cookies or extra fruit for garnish
How to Make Frozen Tray Dessert
Step 1: Prepare the Crust
- In a mixing bowl, combine graham cracker crumbs, melted butter, and sugar. Stir until well combined.
- Press the mixture firmly into the bottom of a 9×13-inch baking dish to form an even crust.
- Place in the freezer for 10-15 minutes while you prepare the filling.
Step 2: Make the Creamy Layer
- In a large mixing bowl, beat cream cheese, powdered sugar, and vanilla extract until smooth and creamy.
- Gently fold in whipped cream or heavy whipping cream until light and fluffy.
- Spread this mixture evenly over the chilled crust.
Step 3: Add the Flavor Layers
- Evenly distribute fruit, chocolate chips, or nuts over the creamy layer.
- Lightly press the toppings into the cream so they adhere.
Step 4: Freeze & Serve
- Spread whipped topping over the entire dessert.
- Drizzle with chocolate or caramel sauce and sprinkle crushed cookies or extra fruit on top.
- Cover with plastic wrap or foil and freeze for at least 4 hours (preferably overnight for best results).
- When ready to serve, let it sit for 5-10 minutes at room temperature to soften slightly for easier slicing.
Variations & Customizations
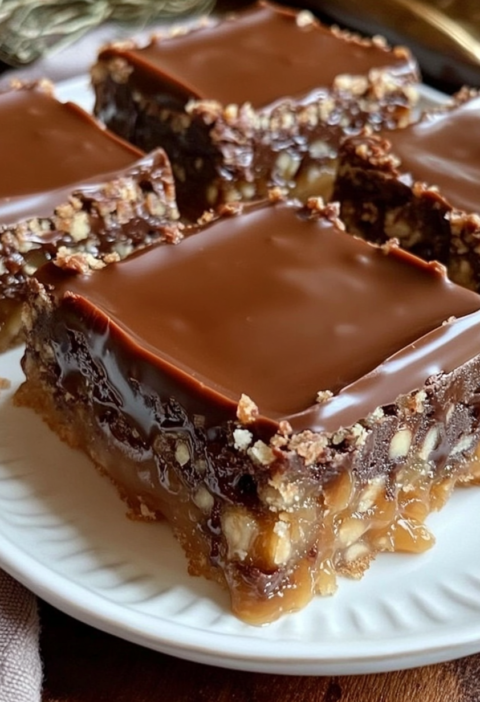
🍫 Chocolate Lover’s Version – Use crushed Oreos for the crust and mix cocoa powder into the creamy layer. Add a drizzle of hot fudge on top.
🍓 Berry Bliss – Layer different berries like raspberries, blueberries, and strawberries for a vibrant and refreshing taste.
🥭 Tropical Delight – Use pineapple, mango, and coconut flakes for a summery, island-inspired treat.
🥜 Nutty Crunch – Add chopped pecans, almonds, or walnuts for an extra crunchy texture.
🍯 Salted Caramel Version – Use a salted pretzel crust and drizzle with caramel sauce for a salty-sweet balance.
Storage & Make-Ahead Tips
- Freezer: Store covered in the freezer for up to 2 weeks.
- Serving Tip: Let sit at room temperature for 5-10 minutes before slicing for easier cutting.
- Make Ahead: Since this dessert needs to freeze for a few hours, it’s perfect for making a day before serving.
Frequently Asked Questions
Can I use a different crust?
Yes! You can use crushed shortbread cookies, chocolate wafers, digestive biscuits, or even pretzels for a unique base.
Can I make this dairy-free?
Absolutely! Use dairy-free cream cheese and coconut whipped cream for a lactose-free version.
How long should it freeze before serving?
At least 4 hours, but for best texture and flavor, freeze overnight.
Can I use fresh fruit instead of frozen?
Yes, fresh fruit works well, but make sure it’s not too juicy, or it may make the dessert watery. If using frozen fruit, thaw and drain it before adding it to the layers.
How do I make cleaner slices?
Run a sharp knife under warm water before slicing to get clean, even pieces.
Final Thoughts
This Frozen Tray Dessert is a creamy, crunchy, and refreshing treat that is both easy to make and absolutely delicious. Whether you’re making it for a family gathering, potluck, or just to have a sweet treat in the freezer, this no-bake dessert is a true crowd-pleaser.
Enjoy a slice of frozen goodness today!