Introduction
Imagine the aroma of freshly baked cherries wafting through your kitchen, tempting your taste buds with the promise of a delightful treat. Cherry pie bars are a classic dessert that combines the sweet tanginess of cherries with a buttery, crumbly crust. In this recipe, we will guide you through creating these irresistible bars that are perfect for any occasion, from casual gatherings to elegant dinner parties.
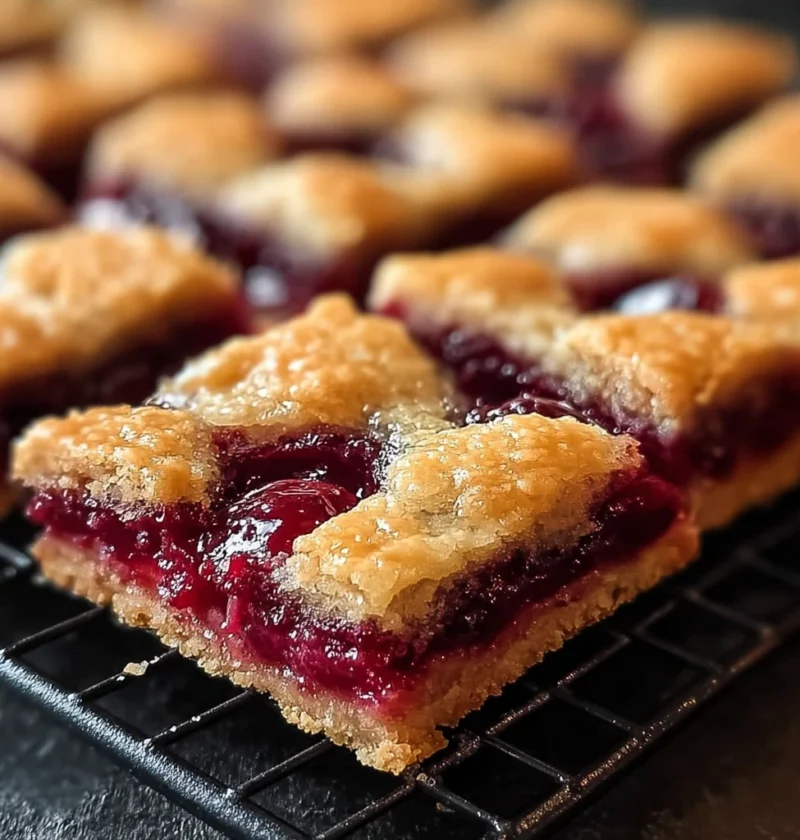
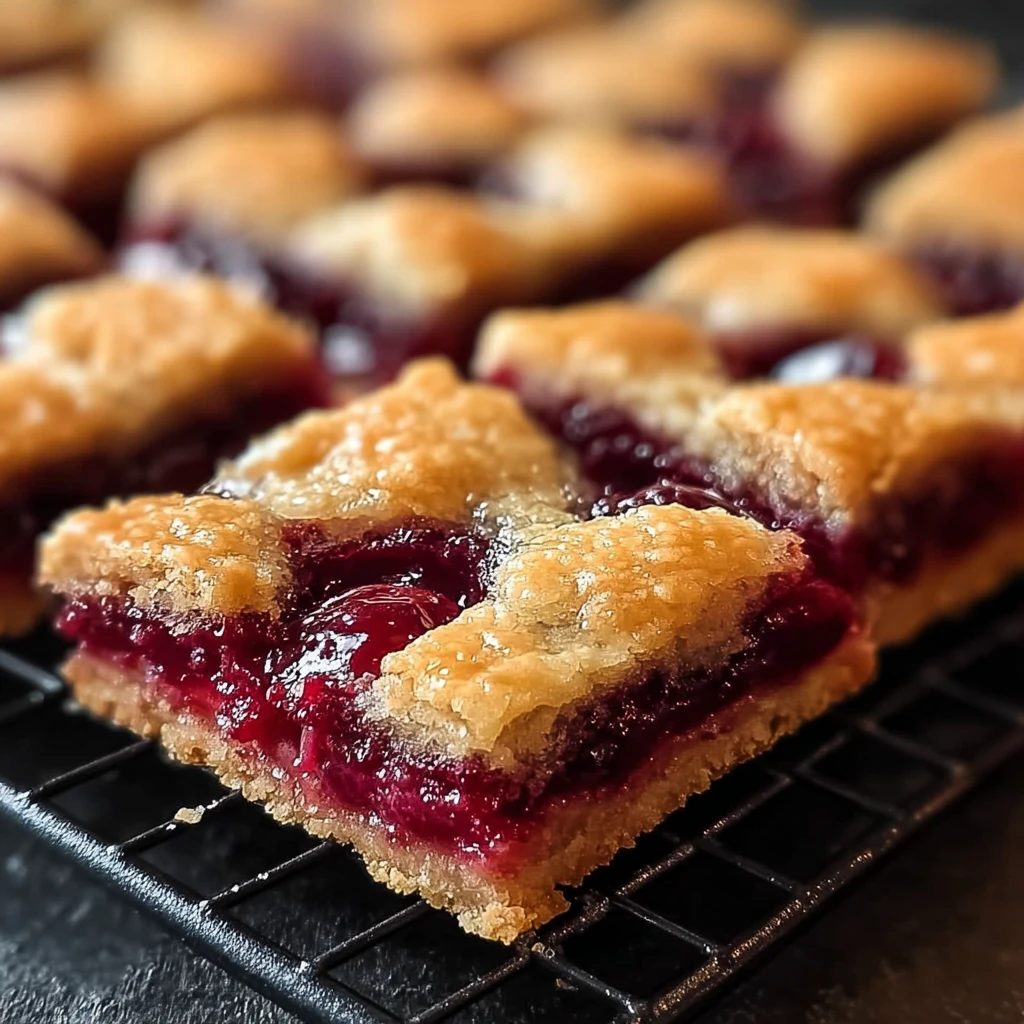
Cherry pie bars offer a unique twist on traditional cherry pie, making them easier to serve and enjoy on the go. These bars are not only delicious but also visually appealing, with a vibrant red cherry filling peeking out from beneath a golden crust. Whether you are a seasoned baker or a novice in the kitchen, this recipe is sure to impress your family and friends.
Throughout history, cherries have been prized for their rich flavor and versatility in both sweet and savory dishes. Cherries are not only a delicious fruit but also packed with antioxidants and vitamins, making them a nutritious addition to your diet. By incorporating cherries into your desserts, you can indulge in a guilt-free treat that satisfies your sweet cravings.
Join us on a culinary journey as we explore the art of making cherry pie bars from scratch. Get ready to unleash your inner baker and create a mouthwatering dessert that will leave everyone asking for seconds!
Why You’ll Love This Recipe
These cherry pie bars are the perfect combination of sweet and tart flavors, creating a harmonious balance that will tantalize your taste buds. The buttery crust adds a rich and decadent touch to the bars, complementing the fruity cherry filling. Whether you enjoy them warm with a scoop of vanilla ice cream or chilled for a refreshing treat, these bars are versatile and delicious.
One of the best features of this recipe is its simplicity. With easy-to-follow instructions and minimal ingredients, you can whip up a batch of cherry pie bars in no time. The convenience of serving these bars in portable, handheld portions makes them ideal for picnics, potlucks, or as a quick snack.
For those conscious of their dietary choices, these cherry pie bars can be easily customized to suit your preferences. Whether you opt for a gluten-free crust, a vegan filling, or a reduced-sugar version, this recipe offers flexibility for various dietary needs without compromising on taste.
Indulge in the joy of baking and savoring these cherry pie bars that are sure to become a staple in your dessert repertoire. Share them with your loved ones and watch as their eyes light up with delight at the first bite!
Ingredients
For the Crust:
– 1 1/2 cups all-purpose flour
– 1/2 cup granulated sugar
– 1/4 teaspoon salt
– 1/2 cup unsalted butter, cold and cubed
For the Cherry Filling:
– 2 cups fresh cherries, pitted and halved
– 1/2 cup granulated sugar
– 2 tablespoons cornstarch
– 1 tablespoon lemon juice
Optional Topping:
– 1/4 cup sliced almonds
– Powdered sugar for dusting
Feel free to experiment with different types of cherries or add a hint of almond extract to the filling for a unique flavor profile. You can also substitute the almonds with chopped pecans or walnuts for added crunch.
Step-by-Step Instructions
1. Preheat your oven to 350°F (180°C) and grease a 9×9-inch baking dish.
2. In a mixing bowl, combine the flour, sugar, and salt for the crust. Cut in the cold butter using a pastry cutter or your fingers until the mixture resembles coarse crumbs.
3. Press two-thirds of the crust mixture into the bottom of the prepared baking dish, creating an even layer.
4. In a separate bowl, mix the cherries, sugar, cornstarch, and lemon juice for the filling. Spread the cherry mixture over the crust in the baking dish.
5. Crumble the remaining crust mixture over the cherry filling and sprinkle sliced almonds on top, if desired.
6. Bake the cherry pie bars for 45-50 minutes, or until the crust is golden brown and the filling is bubbly.
7. Allow the bars to cool completely before dusting with powdered sugar and cutting into squares for serving.
Pro Tip: For easier slicing, refrigerate the bars for about an hour before cutting them into neat squares. Serve them at room temperature or slightly warmed for the best texture and flavor.
Expert Tips for Success
To prevent the crust from becoming too soggy, avoid overmixing the dough and make sure to pat it firmly into the baking dish. Using cold butter is essential for creating a flaky and tender crust that holds up well against the juicy cherry filling.
If fresh cherries are not in season, you can use frozen cherries that have been thawed and drained. Adjust the sugar level in the filling according to the sweetness of the cherries you use to achieve the perfect balance of flavors.
For a decorative touch, sprinkle a handful of coarse sugar over the top of the bars before baking. This will add a subtle crunch and a touch of sweetness to the finished bars.
Experiment with different fruit combinations, such as cherry-rhubarb or cherry-apricot, to create your own signature version of these delectable bars. Feel free to get creative with the toppings by adding a drizzle of glaze or a dollop of whipped cream before serving.
Variations and Substitutions
If you prefer a crisper crust, you can blind bake the bottom layer before adding the cherry filling. Simply prick the crust with a fork, line it with parchment paper and pie weights, and bake it for 10-15 minutes before proceeding with the recipe.
For a dairy-free version, substitute the butter in the crust with solid coconut oil or a vegan butter alternative. You can also use almond flour or a gluten-free flour blend to make the crust suitable for those with gluten sensitivities.
Feel free to experiment with different fruit fillings, such as blueberries, peaches, or apples, to create a variety of fruity bars that cater to your taste preferences. Mix and match seasonal fruits for a fresh twist on this classic recipe.
For a decadent touch, drizzle melted chocolate over the cooled bars or sandwich a layer of chocolate ganache between the crust and the cherry filling. The chocolate-cherry combination is sure to be a crowd-pleaser!
Serving Suggestions
These cherry pie bars are delightful on their own but can be elevated with a few simple serving suggestions. Dust the bars with powdered sugar or a sprinkle of cinnamon for an extra burst of flavor. Pair them with a scoop of vanilla ice cream or a dollop of whipped cream for a creamy contrast to the fruity filling.
For a more indulgent treat, serve the cherry pie bars warm with a drizzle of caramel sauce or a scoop of almond ice cream. The warm-cold contrast and the play of flavors will make each bite a memorable experience. Enjoy these bars with a cup of freshly brewed coffee or a glass of chilled milk for a comforting dessert.
Whether you serve these cherry pie bars as a sweet ending to a meal or as a midday snack, they are sure to be a hit with everyone who tries them. Get creative with your presentation by arranging the bars on a platter with fresh cherries or mint leaves for a touch of elegance.
Remember to store any leftover bars in an airtight container in the refrigerator for up to 3-4 days. Simply reheat them in the oven or microwave before serving to restore their crispness and flavor.
FAQs
Q: Can I use canned cherries instead of fresh cherries for this recipe?
A: Yes, you can substitute canned cherries for fresh cherries, but be sure to drain them well before using to prevent excess liquid in the filling.
Q: Can I freeze these cherry pie bars for later?
A: Absolutely! Once the bars have cooled completely, wrap them tightly in plastic wrap or aluminum foil and place them in a freezer-safe container. They can be stored in the freezer for up to 2-3 months. Thaw the bars in the refrigerator overnight before reheating and serving.
Q: Can I add a streusel topping to these bars for extra crunch?
A: Yes, a streusel topping made with oats, brown sugar, and butter would be a delicious addition to these bars. Simply sprinkle the streusel over the cherry filling before baking for a crunchy texture.
Q: Can I use a different type of fruit filling in this recipe?
A: Absolutely! Feel free to experiment with your favorite fruits, such as raspberries, blackberries, or a combination of berries, to create a variety of fruity bars that suit your taste preferences.
Final Thoughts
As you embark on your culinary journey to create these delectable cherry pie bars, remember that baking is not just about following a recipe—it’s about infusing your creations with love and creativity. Whether you are baking for yourself, your family, or a special occasion, these bars are sure to bring joy and satisfaction to all who indulge in them.
So, preheat your oven, gather your ingredients, and let the sweet aroma of cherries and butter fill your kitchen as you bake these irresistible bars. Share the joy of baking with others, and watch as these cherry pie bars become a beloved favorite in your baking repertoire. Cheers to good food, good company, and the simple pleasures of homemade treats!
cherry pie bars recipe
Cherry pie bars are a classic dessert that combines the sweet tanginess of cherries with a buttery, crumbly crust. This recipe guides you through creating irresistible bars that are perfect for any occasion, from casual gatherings to elegant dinner parties.
Ingredients
- 1 1/2 cups all-purpose flour
- 1/2 cup granulated sugar
- 1/4 teaspoon salt
- 1/2 cup unsalted butter, cold and cubed
- 2 cups fresh cherries, pitted and halved
- 2 tablespoons cornstarch
- 1 tablespoon lemon juice
- 1/4 cup sliced almonds
- Powdered sugar for dusting
Directions
-
Preheat your oven to 350°F (180°C) and grease a 9×9-inch baking dish.
-
In a mixing bowl, combine the flour, sugar, and salt for the crust. Cut in the cold butter using a pastry cutter or your fingers until the mixture resembles coarse crumbs.
-
Press two-thirds of the crust mixture into the bottom of the prepared baking dish, creating an even layer.
-
In a separate bowl, mix the cherries, sugar, cornstarch, and lemon juice for the filling. Spread the cherry mixture over the crust in the baking dish.
-
Crumble the remaining crust mixture over the cherry filling and sprinkle sliced almonds on top, if desired.
-
Bake the cherry pie bars for 45-50 minutes, or until the crust is golden brown and the filling is bubbly.
-
Allow the bars to cool completely before dusting with powdered sugar and cutting into squares for serving.