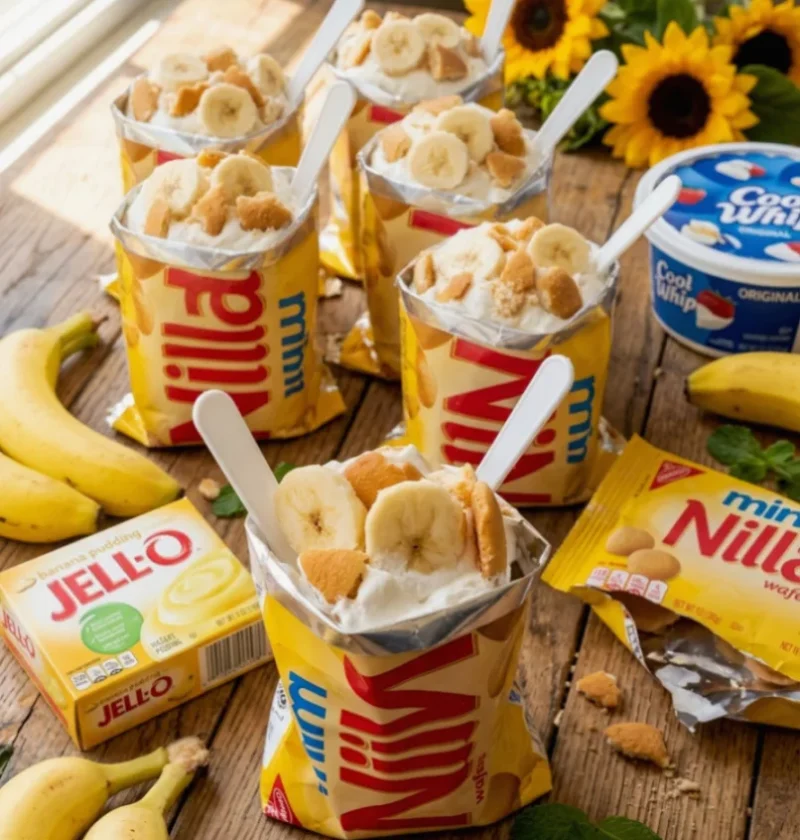
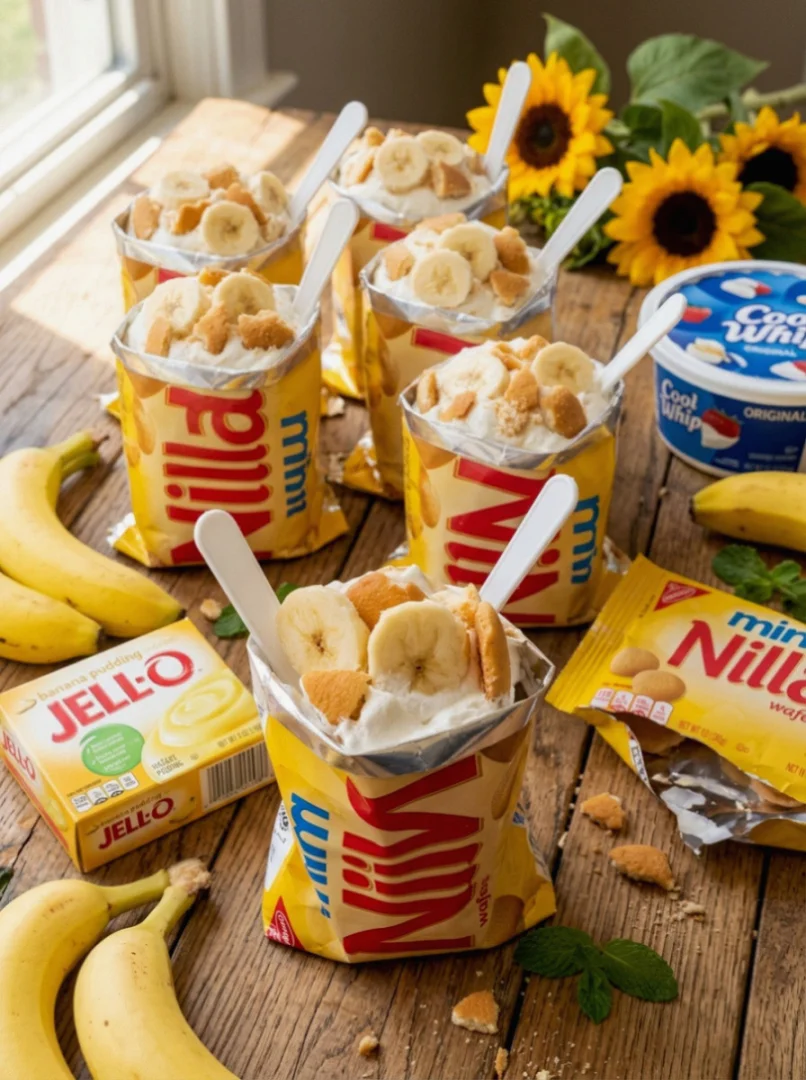
Walking banana pudding is a delightful twist on the classic banana pudding, perfect for summer picnics or cozy gatherings. This no-bake dessert combines layers of creamy banana pudding with whipped cream and vanilla wafers, creating a visually stunning and delicious treat. Whether you’re a fan of banana desserts or just looking for a comforting dish, this easy banana pudding recipe will satisfy your sweet tooth! The beautiful layers not only look impressive but also create a delicious balance of flavors and textures that will keep your guests coming back for more.
Ingredients
- For the Pudding:
- 1 (5.1 oz) box of instant vanilla pudding mix
- 2 cups cold milk
- 1 cup heavy whipping cream
- 1/2 cup powdered sugar
- 1 teaspoon vanilla extract
- For the Assembly:
- 4 ripe bananas, sliced
- 1 (12 oz) box of vanilla wafers
- 1 cup whipped cream (store-bought or homemade)
Note: For a richer flavor, consider using whole milk instead of low-fat milk. Whole milk adds creaminess that enhances the overall taste of the walking banana pudding. Make sure your bananas are ripe for the best sweetness and texture; overripe bananas will impart a stronger banana flavor and creamier texture to your pudding. If you want to add a hint of uniqueness, consider using flavored wafers, such as banana or lemon, for an extra twist. You can learn more about this topic.
Steps / Instructions
- In a large mixing bowl, whisk together the instant vanilla pudding mix and cold milk until it thickens, about 2 minutes. This step is crucial as it activates the pudding mix, resulting in a smooth and creamy base.
- In a separate bowl, beat the heavy whipping cream until soft peaks form. Gradually add the powdered sugar and vanilla extract, continuing to beat until stiff peaks form. Ensure not to overbeat, as this can lead to a grainy texture.
- Gently fold the whipped cream into the prepared pudding mixture until smooth and well combined. This creates a creamy banana pudding base that is light and airy, providing the perfect texture.
- To assemble the walking banana pudding, take a clear plastic cup or small jar. Start by adding a layer of vanilla wafers to the bottom, ensuring they are neatly arranged for a beautiful presentation.
- Next, add a layer of the creamy banana pudding mixture on top of the wafers, smoothing it out with a spatula for an even layer.
- Add a layer of sliced bananas, followed by another layer of vanilla wafers. Repeat this process until the cups are filled, finishing with a generous layer of whipped cream on top. The layered effect not only looks appealing but also ensures each bite has a mix of flavors.
- For presentation, garnish the top of each cup with a few banana slices and crushed vanilla wafers. This adds texture and a beautiful look, making each cup a feast for the eyes.
- Chill the assembled walking banana puddings in the refrigerator for at least 2 hours before serving. This allows the flavors to meld and the wafers to soften slightly, enhancing the overall taste. The chilling step is vital as it helps achieve the perfect consistency and flavor integration.
Tips & Tricks
- To make this banana pudding ahead of time, prepare the pudding and assemble the cups a day in advance. Store them in the refrigerator until ready to serve. This not only saves time but also allows the flavors to develop further.
- For a gluten-free version, use gluten-free vanilla wafers, which can be found in most grocery stores. This way, everyone can enjoy this delicious walking banana pudding!
- Be cautious not to overmix the whipped cream into the pudding; you want it to remain fluffy for the best texture. Gently folding is key here to maintain that lightness.
- If you find your bananas browning too quickly, consider tossing them in a little lemon juice to preserve their color. This not only helps with aesthetics but also adds a slight tang that complements the sweetness of the pudding.
- Using homemade whipped cream enhances the flavor, but store-bought is perfectly acceptable for a quick dessert. If you’re short on time, pre-made whipped cream can still yield a delicious result.
Variations
There are numerous ways to customize your walking banana pudding: Check out our related guide for more tips. Experimenting with different flavors and textures can take this classic dessert to new heights.
- Chocolate Banana Pudding: Add a layer of chocolate pudding between the banana layers for a decadent twist. The chocolate complements the bananas beautifully.
- Tropical Banana Pudding: Incorporate diced pineapple or coconut flakes between the layers for a tropical flair. This combination will transport your taste buds to a sunny beach paradise.
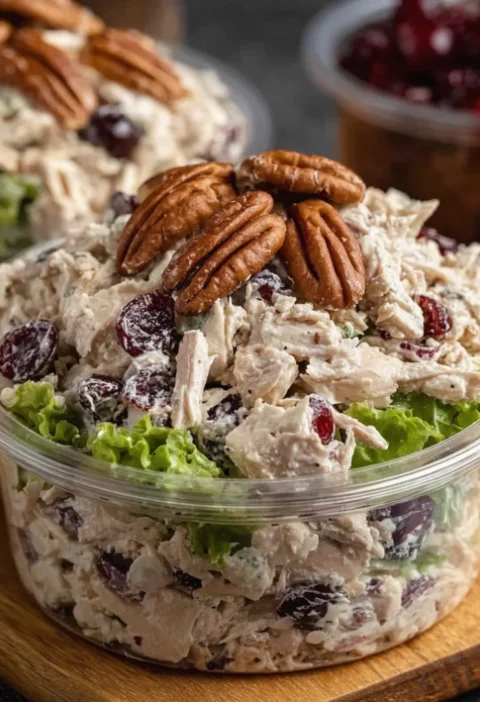
- Nutty Banana Pudding: Add chopped nuts, such as pecans or walnuts, for an extra crunch. The added texture creates a delightful contrast with the creamy pudding.
Serving Suggestions
Walking banana pudding is versatile enough to be served at various occasions. It’s perfect for summer barbecues or as a comforting dessert after a hearty meal. Pair it with a refreshing drink, such as iced tea or lemonade, to enhance the summertime experience. For a fun twist, consider serving it alongside a scoop of vanilla ice cream for an indulgent treat. Serve the cups in a vibrant dish or on a festive tray to make your dessert presentation pop! Adding colorful napkins or themed decorations can elevate the experience even further.
Walking Banana Pudding
Walking banana pudding is a delightful twist on the classic banana pudding, perfect for summer picnics or cozy gatherings. This no-bake dessert combines layers of creamy banana pudding with whipped cream and vanilla wafers, creating a visually stunning and delicious treat.
Ingredients
- 1 (5.1 oz) box of instant vanilla pudding mix
- 2 cups cold milk
- 1 cup heavy whipping cream
- 1/2 cup powdered sugar
- 1 teaspoon vanilla extract
- 4 ripe bananas, sliced
- 1 (12 oz) box of vanilla wafers
- 1 cup whipped cream (store-bought or homemade)
Directions
In a large mixing bowl, whisk together the instant vanilla pudding mix and cold milk until it thickens, about 2 minutes.
In a separate bowl, beat the heavy whipping cream until soft peaks form. Gradually add the powdered sugar and vanilla extract, continuing to beat until stiff peaks form.
Gently fold the whipped cream into the prepared pudding mixture until smooth and well combined.
To assemble the walking banana pudding, take a clear plastic cup or small jar. Start by adding a layer of vanilla wafers to the bottom.
Next, add a layer of the creamy banana pudding mixture on top of the wafers.
Add a layer of sliced bananas, followed by another layer of vanilla wafers. Repeat this process until the cups are filled, finishing with a layer of whipped cream on top.
For presentation, garnish the top of each cup with a few banana slices and crushed vanilla wafers.
Chill the assembled walking banana puddings in the refrigerator for at least 2 hours before serving.
Recipe Reviews
- ★★★★★
Excellent recipe!
Leave a Reply
Your email address will not be published. Required fields are marked *


Excellent recipe!